Playing with the Ubiquiti G4 Doorbell Display
We were able to port C/C++ programs to the G4 doorbell platform. We also tried to show something on the devices’ display.
Table of Contents
Introduction
In the first part of this series we explained how to develop and port C/C++ programs for/to the Ubiquiti G4 doorbell. Now that we know how to do that, we want to get access to the device’s display.
To say it in advance: we didn’t quite succeed. But who says that’s all that counts. The way is the goal! We have learned a lot. We share our findings in this post.
Accessing the Display via the Linux Frame Buffer
Our first guess: device’s display is accessed using a Linux Frame Buffer Device. The Linux Frame Buffer abstracts away details about the graphics hardware. The interface is well known and thoroughly documented. According the UNIX philosophy, where everything is a file, the Frame Buffer devices can be found in /dev as /dev/fb0, /dev/fb1, etc.
Analyzing What’s There
As a first rough guess, let’s first try to find potential processes on the G4 which might implement the display logic. I am connecting to the G4 via a jump host with local port-forwarding, that’s why I ssh to localhost:
(ssh -p 2222 ubnt@127.0.0.1 ps w) | grep 'display\|gui'
Result:
  669 ubnt     19632 S    /bin/ubnt_lcm_gui -b=80 -s=INITIALIZING
  815 ubnt      2968 S    /bin/sh /bin/start-stop-daemon-launcher /bin/ubnt_lcm_gui
That ubnt_lcm_gui process looks suspicious. As a first guess, let’s search for /dev/fb in the referenced binary (I am using fdfind to locate it in the firmware root file system):
strings $(fdfind -t x ubnt_lcm_gui) | grep /dev/fb
Result:
/dev/fb2
It is very likely that the display can be accessed through the /dev/fb2 device file. We then reverse engineered the ubnt_lcm_gui binary including its dependent libraries to find out how the display is accessed in detail.
We used readelf from the binutils package (man page) to determine the binary’s dependent libraries:
readelf -d <path-to-binary>
The readelf utility can also be used to determine the symbols (e.g. exported function names) of a given library (shared object):
readelf -s --demangle --wide <path-to-shared-object> 2>/dev/null \
	| awk '{ if ($7 != "UND" && $5 == "GLOBAL") { print $8; } }'
We learned about the inner workings of the referenced Frame Buffer library using Ghidra. It turned out that Frame Buffer access on the G4 is more complex than we expected. After some hours, the time frame we had set for ourselves to understand the Ubiquiti binaries was used up.
If we had more time, I would have ported strace to the G4 in order to attach to the ubnt_lcm_gui process. This way, we could learn about the details of the interaction between the application and the Frame Buffer device. Maybe we would have some success by replaying parts of what the original application sends to the display device.
We decided to play with Frame Buffer devices as we know them. For example, it is possible to see whether the Frame Buffer works at all by writing random garbage to its device file:
cat /dev/urandom >/dev/fb2
Source: StackExchange: Accessing the Frame Buffer from shell scripts
But first, we needed to make sure that the Frame Buffer is not used by the ubnt_lcm_gui application anymore. This application is configured in /etc/inittab and restarted by /sbin/init in case it exits for whatever reason. Due to the root file system being mounted read-only, the /etc/inittab cannot be modified, just like the executables themselves. As the /dev file system is temporary and writable, we decided to remove the /dev/fb2 device node and create it anew under a different name, so that ubnt_lcm_gui cannot find it upon restart:
rm /dev/fb2
mknod /dev/doom c 29 0
kill ubnt_lcm_gui
cat /dev/urandom >/dev/doom
Doing so on the G4 device did not change anything on its display. This behavior supports our thesis that accessing the Frame Buffer device on the G4 requires more than just writing to the /dev/fb2 device file.
For the following steps I spawned a i386/i686 based Debian GNU/Linux VM. I am using a i386/i686 VM here simply because I had it lying around on my hard drive. Furthermore, it is easier to create screenshots of the Frame Buffer as the VMs Frame Buffer is shown inside a window in my graphical user interface. In the VM we applied the binfmt_misc trick we explained in our previous G4 post: after installing the required binfmt and qemu packages to have qemu-aarch64-static to our avail, we were able to execute G4 binaries more or less transparent using chroot. The G4 root file system is copied from my host to /home/user/v4.55.5_public in the VM.
The VM is reachable at port 10022 on localhost via SSH. That’s why the following commands are wrapped inside a ssh call. First, we have to create the device nodes in the firmware image first before we can read from the /dev/urandom device to write into the /dev/fb0 device. The Frame Buffer device node is a character c device with major number 29 and minor number 0, whereas the /dev/urandom device is of type character c with a major number 1 and minor number 9.
When accessing the /dev/fb devices from the AArch64 emulator, we should be able to see the output on the screen of the VM even though it is running inside a chroot inside the VM. It works, because qemu only emulates the userspace. Any system calls or device interaction will still be executed by the kernel of my VM.
(
ssh -p 10022 user@localhost 'sh -s' <<-"EOF"
if ! [ -c /home/user/v4.55.5_public/dev/urandom ]; then
sudo mknod /home/user/v4.55.5_public/dev/urandom c 1 9
fi
if ! [ -c /home/user/v4.55.5_public/dev/fb0 ]; then
sudo mknod /home/user/v4.55.5_public/dev/fb0 c 29 0
fi
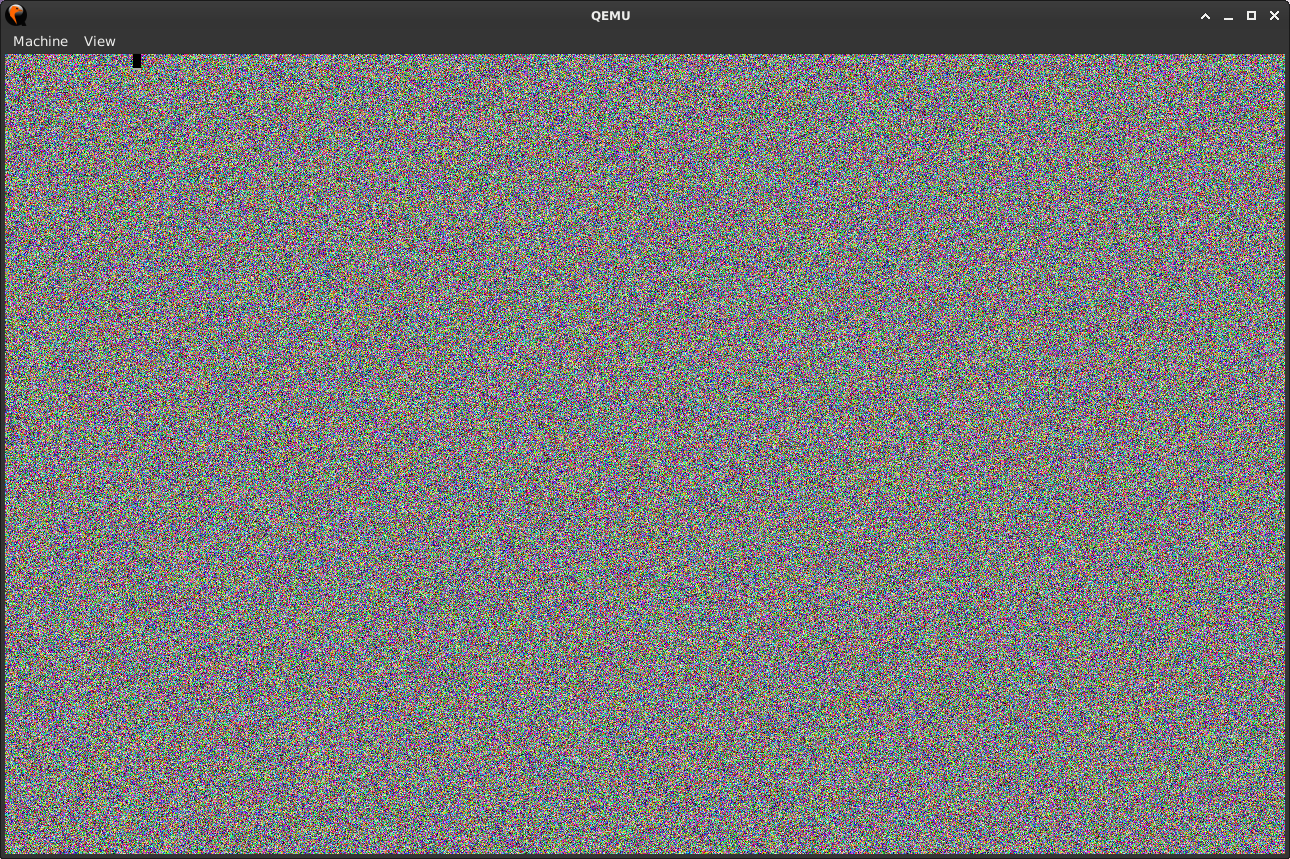
sudo chroot /home/user/v4.55.5_public cat /dev/urandom >/dev/fb0
EOF
)
Result:
More than Garbage: fbclock
Let’s conclude this post by porting the fbclock application to the G4. When running it inside the AArch64 emulator, we should see a clock in my VMs display. The application can be built using the toolchain (for i686 hosts) we already used in the first G4 article:
(
	ssh -p 10022 user@localhost 'sh -s' <<-"EOF"
		if ! [ -d fbclock ]; then
			git clone --recursive https://github.com/kevinboone/fbclock.git
		fi
		cd fbclock
		make clean
		if make CC=/home/user/gcc-linaro-6.5.0-2018.12-i686_aarch64-linux-gnu/bin/aarch64-linux-gnu-gcc > /dev/null; then
			echo "Compilation succeeded."
		else
			echo "Compilation failed." >&2
			exit 1
		fi
		sudo cp fbclock /home/user/v4.55.5_public/usr/bin
		sudo chroot /home/user/v4.55.5_public timeout 1 fbclock
EOF
)
The timeout command is needed to limit the execution time of the fbclock program to one second. Running the Frame Buffer Demo draws directly into the VM’s Frame Buffer:
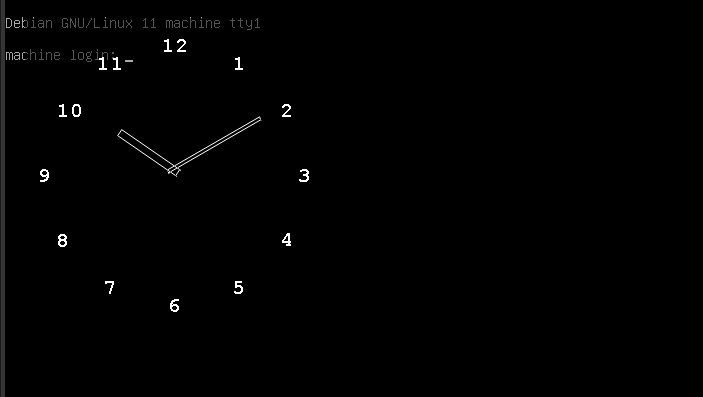
Success! Frame Buffer access works at least in the VM/emulator. 😃
Conclusion
In this post we ported some more C/C++ applications to the G4 platform. We also described how we analyzed the Ubiquiti binaries to learn more about the Frame Buffer access logic. We did not succeed and we would have had to spend some more hours or even days to be able to do what we wanted. Maybe there is some time in the future to continue this journey.

